For thousands of years, windows have been used to provide natural light to homes. However, they have simply remained panes of glass. In the modern world, windows can be found in nearly every home, on every building, and at nearly every turn. The only problem? Windows are inefficient and static in design. Sometimes there is too much light and heat projected into a room. Other times, windows don’t provide enough resistance to colder temperatures.
In order to solve this problem, my team consisting of four other members, came up with “The Perfect Window”. Our design consists of making an automated dynamic window that allows certain levels of light through a window that is controlled based on the time of day and temperature.
Target Market
The idea to build this blind system originated from a college student’s perspective, especially in the dorms where sometimes there aren’t any air conditioners or heaters. However, as a group we realized that an automated blind applied to a wide range of consumers. While there are already multiple similar products in the market, we believe that our product will reach more towards college students while at the same time be a compelling system to buy for people with houses.
Design Requirements
- System iterations
- motor directly in blinds
- long connecting shaft
- motor/bushing/gear
- Circuit iterations
- basic circuit
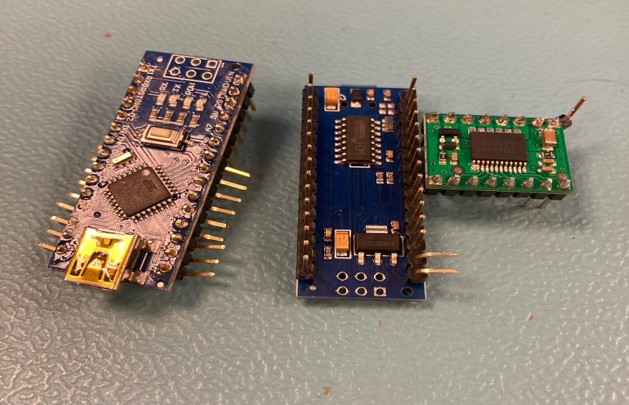
- Arduino nano and breadboard
- scaled down breadboard
- solder-able breadboard
Arduino Code
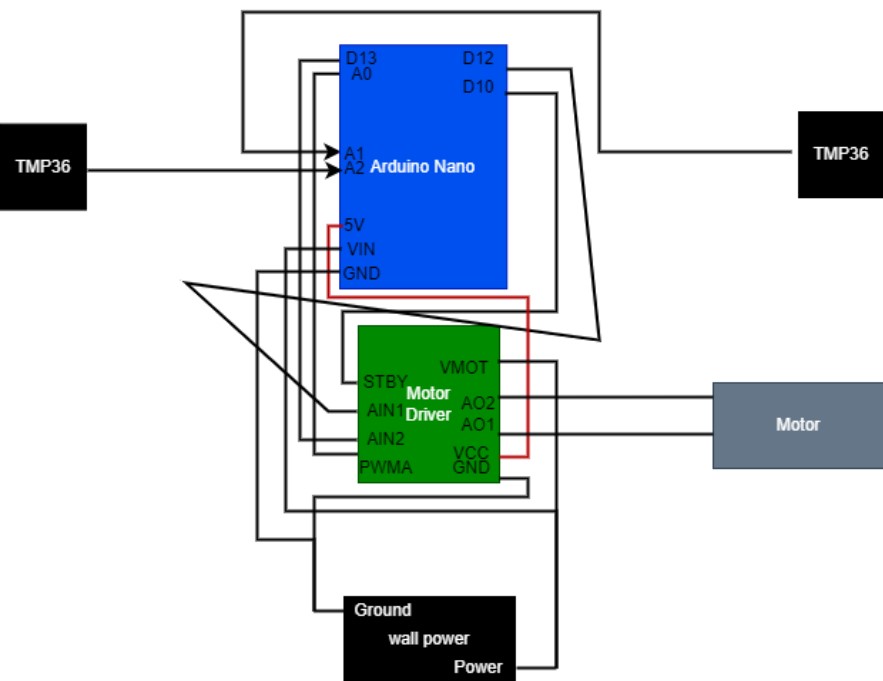
Without good code, our circuits and therefore our entire system would never work. Which is why writing reliable code was essential to our project. The code begins by establishing the connection points with A1 and A2. Next, we convert the voltage into temperature to measure the inside and the outside of where the blinds would be. Finally, we establish about a 10% motor speed instead of using the max for a smoother motion.
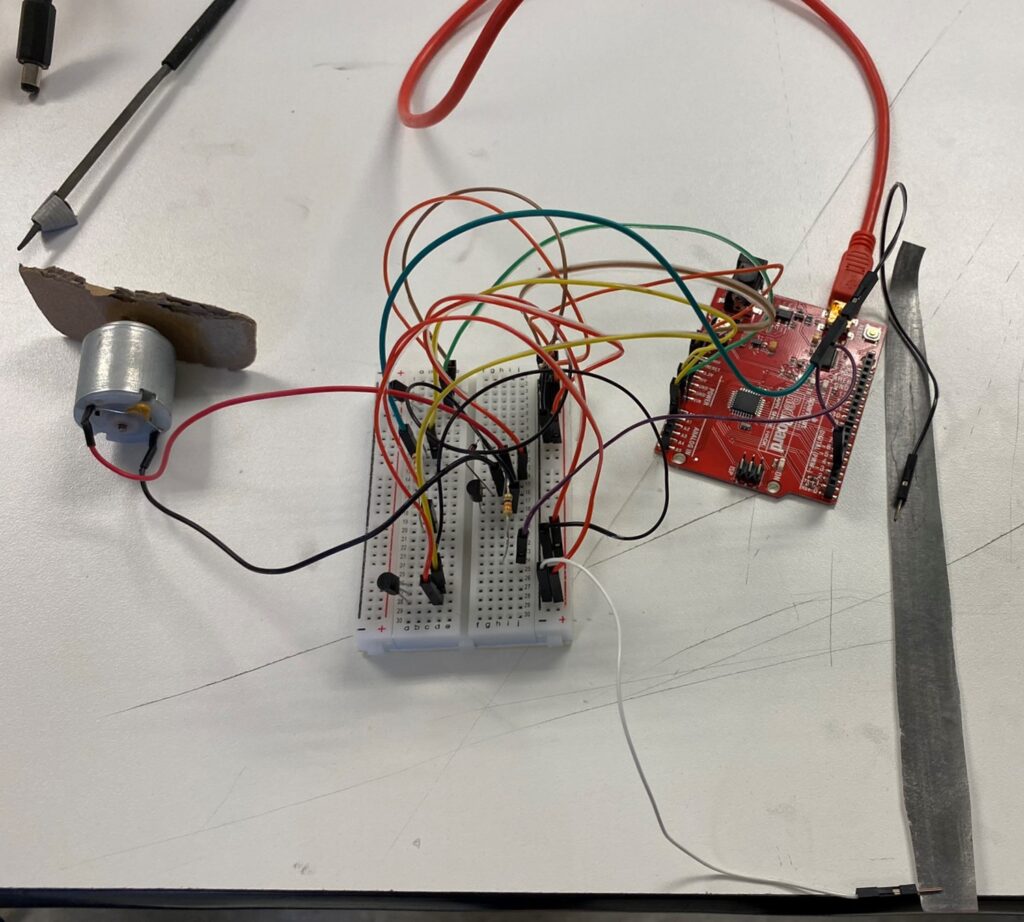
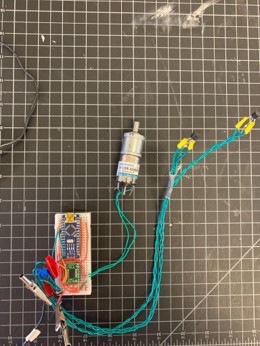
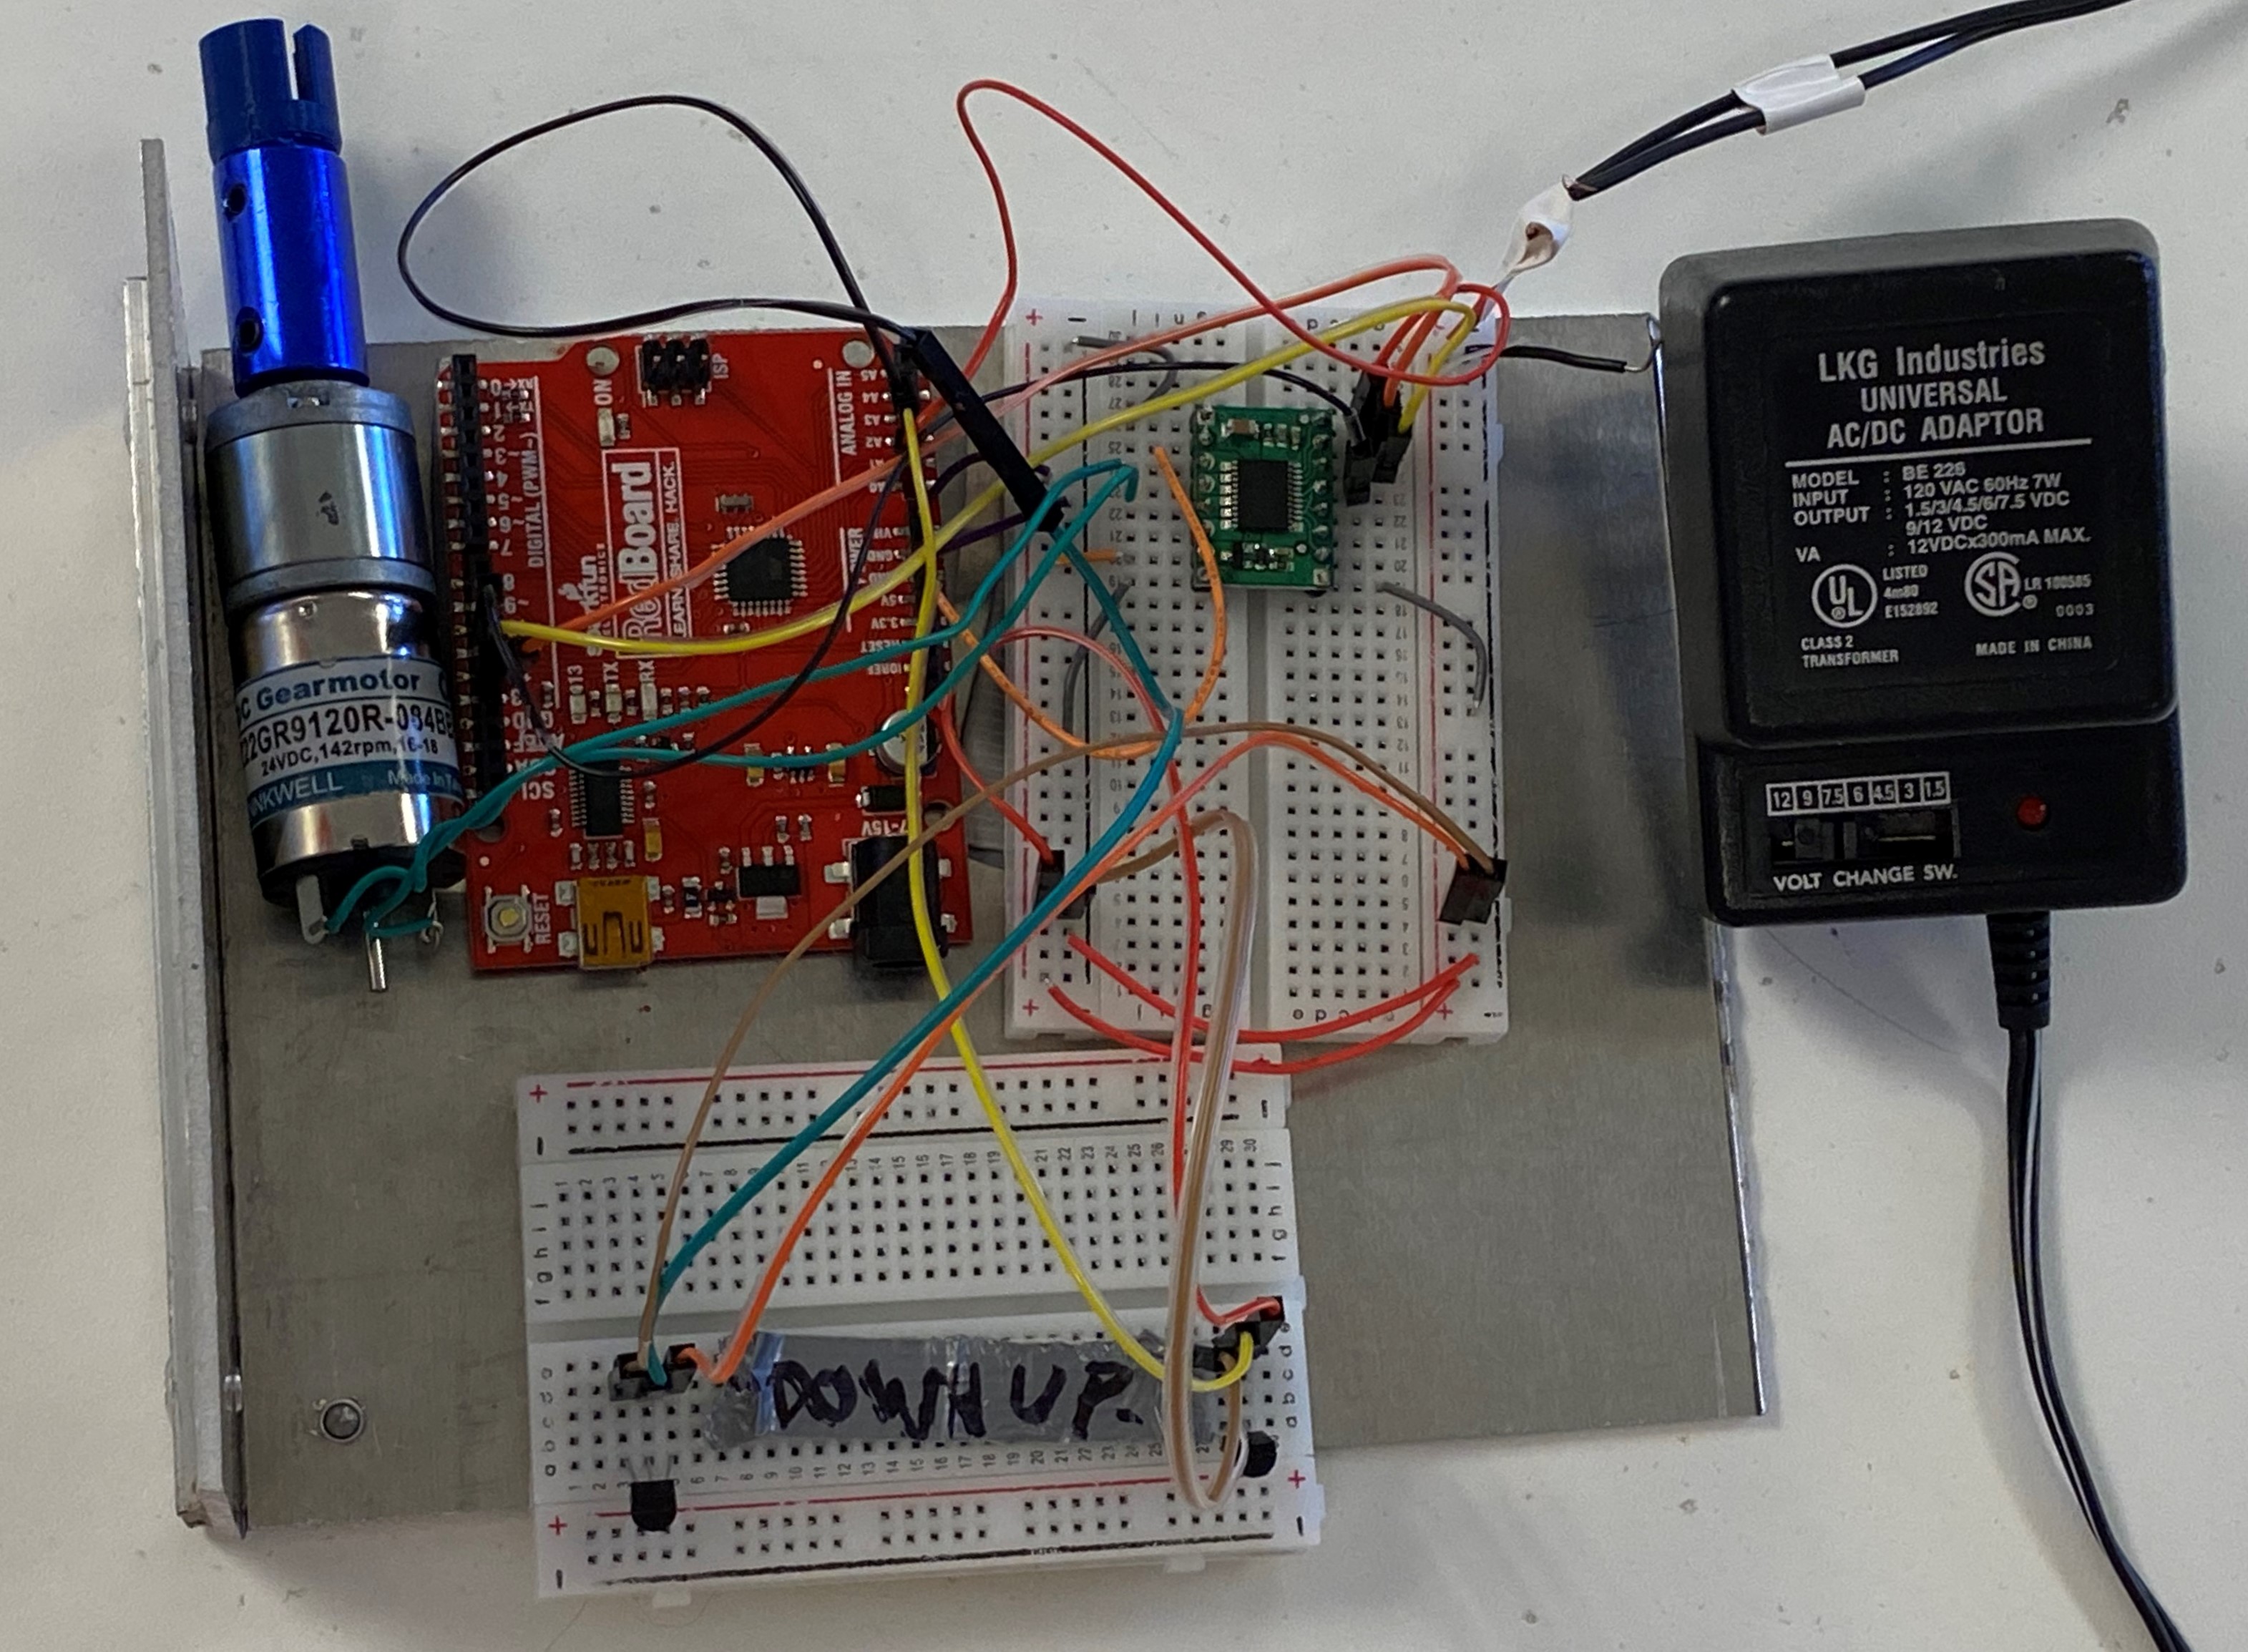
The code works by reading two temperature sensors, and if there is a difference greater than a certain number, then the motor will spin either clockwise or counterclockwise depending on what the user wants. Below is a diagram of our circuit that makes the code run.
Circuits and Motor Testing
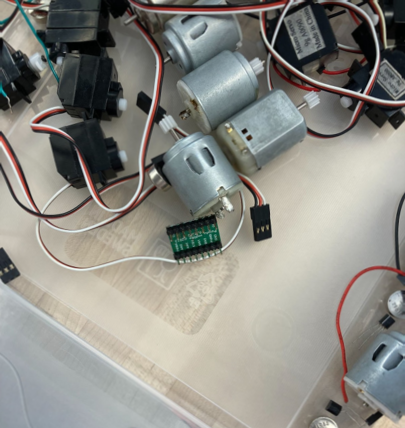
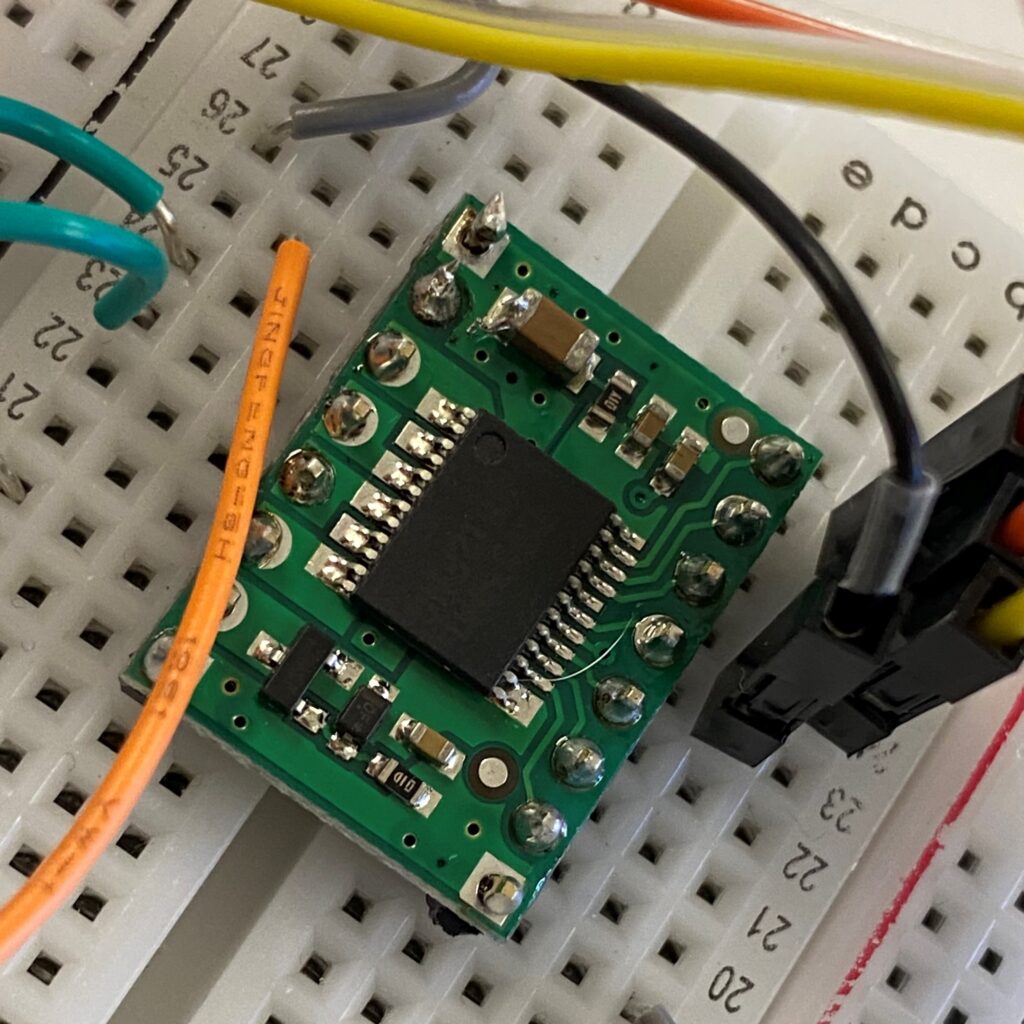
In order to build a circuit capable of spinning a motor based on temperature sensors, we first got a consultation from one of the engineers who works at the ITLL, part of the engineering department at the University of Colorado Boulder. Through multiple tests, we were able to translate the readings off of the two temperature sensors to find a difference. Once there was a large enough value for the difference in temperature, the motor would spin. Unfortunately, we had a couple of setbacks due to some motors not being powerful enough and others getting fried.

Spin System
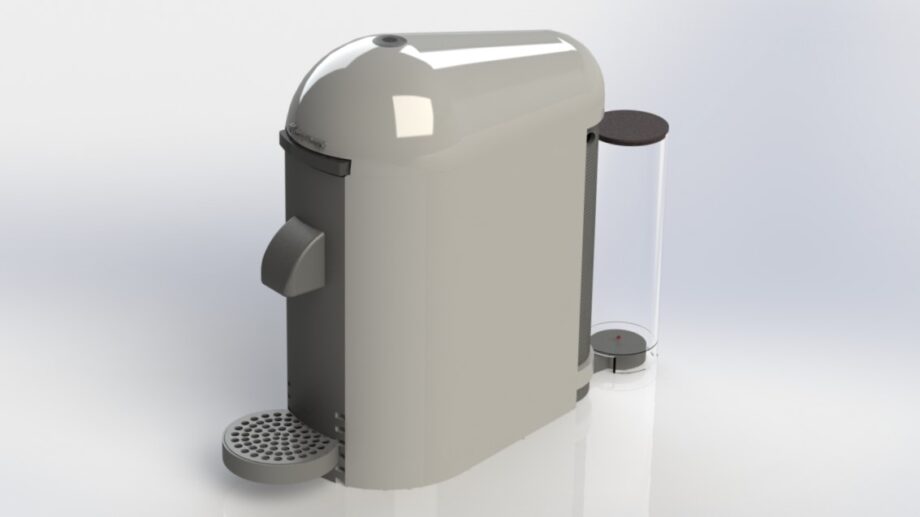
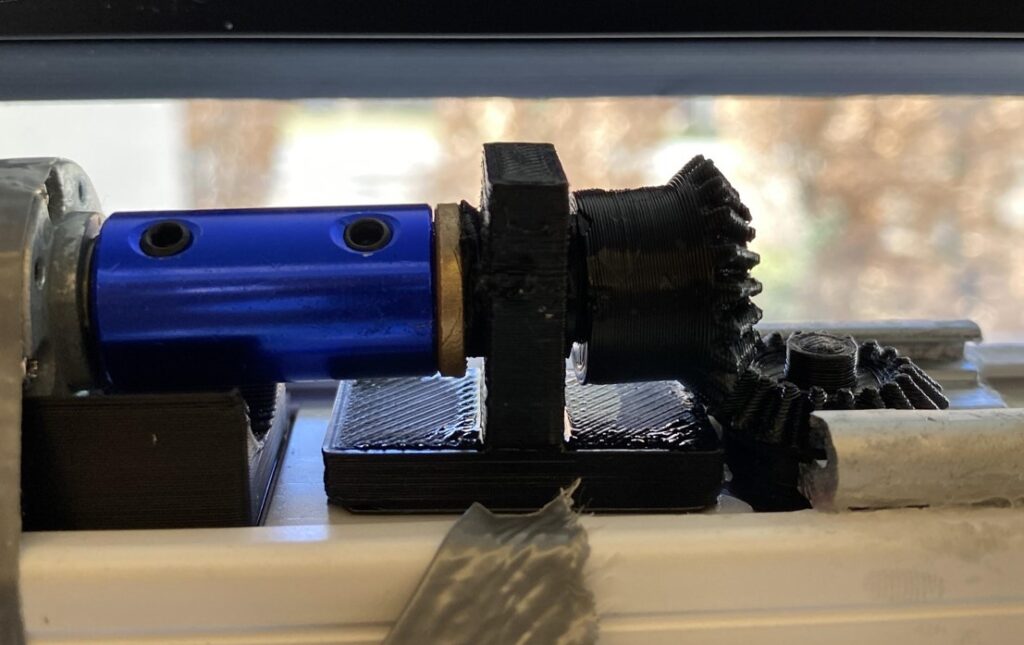
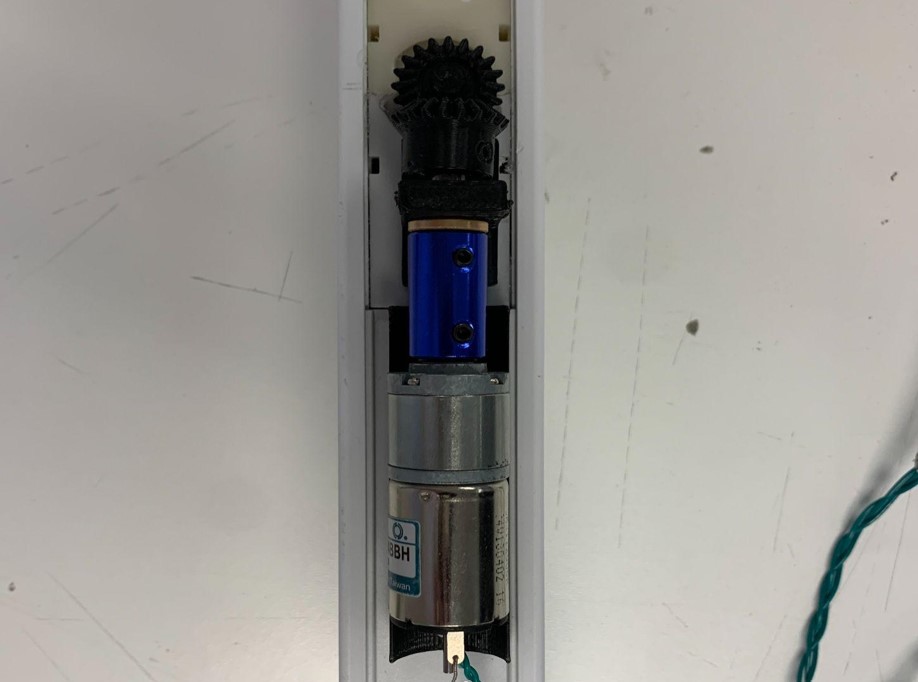
The main goal for this piece is to spin our blind system. This is not directly attached to the motor, but is done so with a rod connected to a perpendicular gear train.
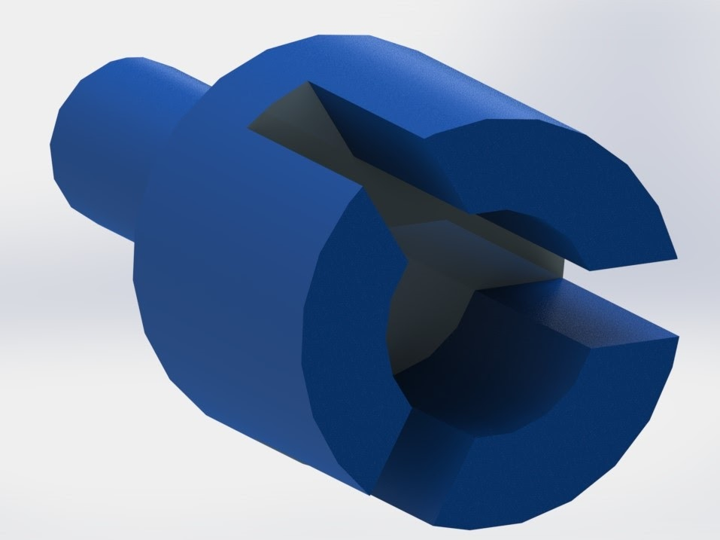
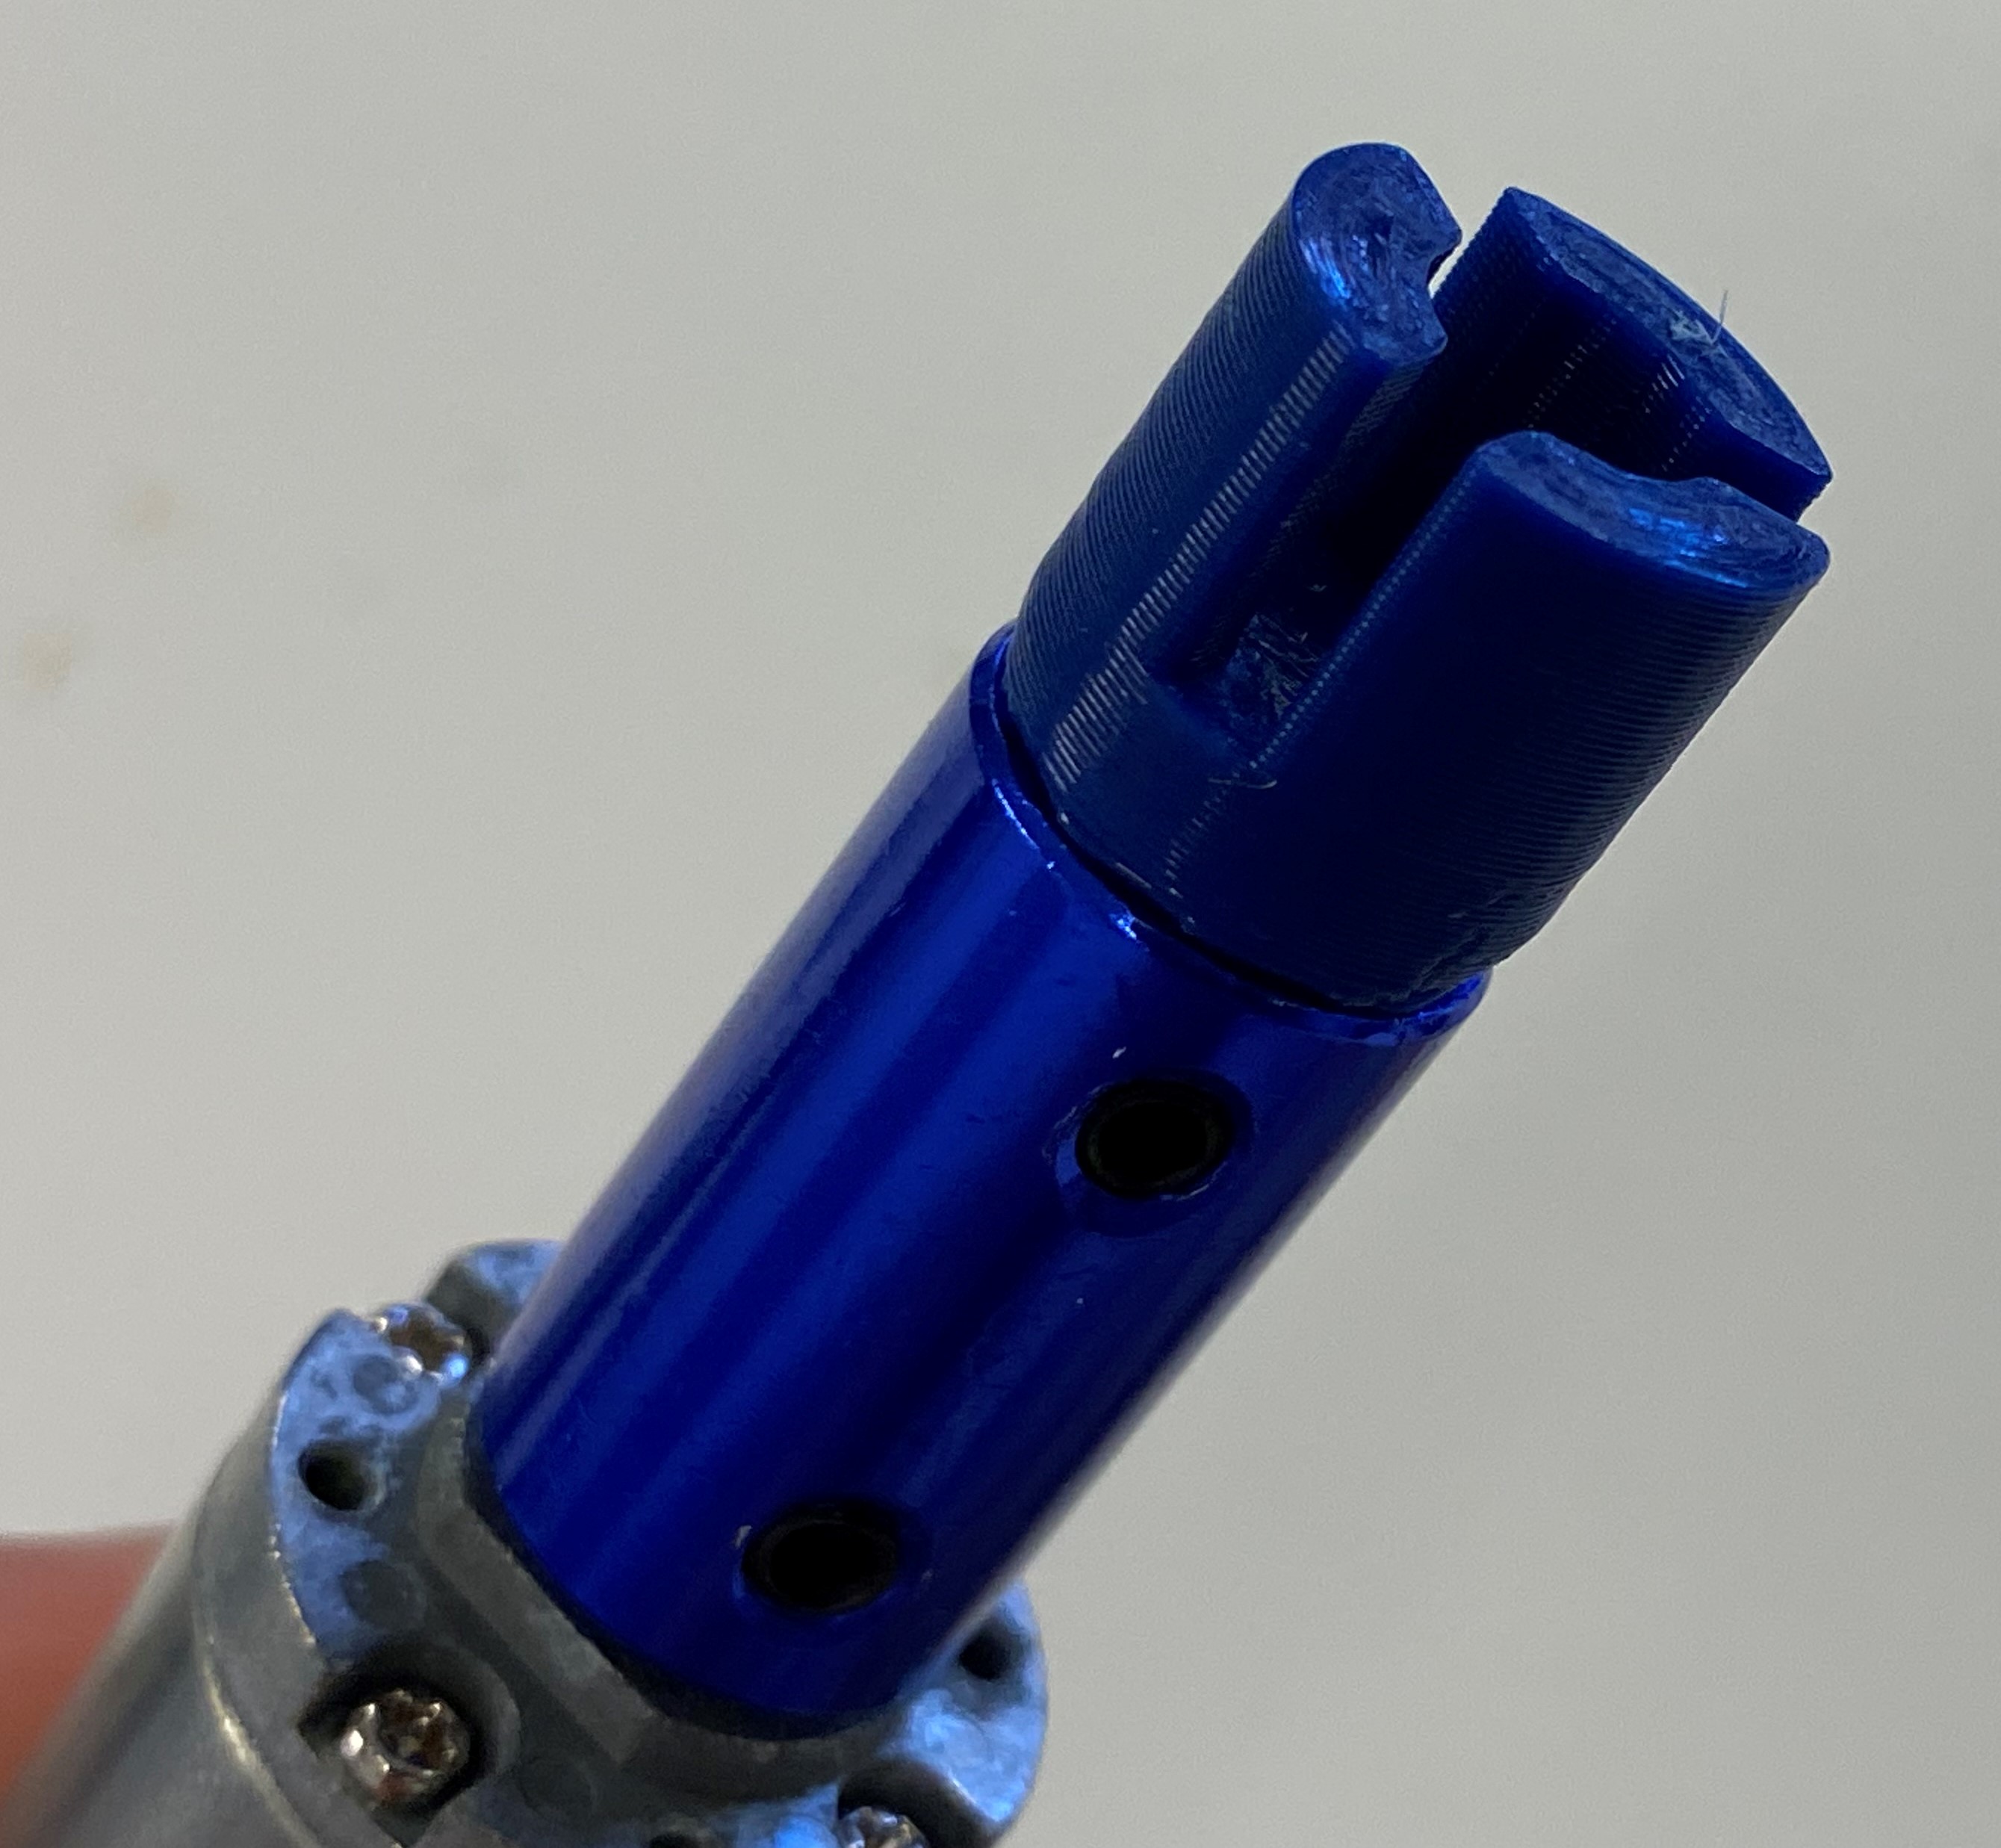
The middle figure above shows the top of our blinds. We will have our arduino and motors tucked to the side and the gears will be attached to the motor attacher in order to make our blinds go up or down.
Conclusion
Ultimately our group succeeded in accomplishing our goals. While we faced numerous challenges, we still managed to create a design that met our requirements and accomplished within the time-frame of the class.
Appendices
Couplings: https://www.amazon.com/BQLZR-Aluminum-Coupling-Coupler-Connector/dp/B0159WOA4K/ref=sr_1_10?keywords=couplings+6mm&qid=1639275860&sr=8-10
Bushings: https://www.amazon.com/uxcell-Bearings-Thickness-Sintered-Self-Lubricating/dp/B095N9CNH3/ref=sr_1_3?keywords=bushings+6mm&qid=1639275798&sr=8-3
Motor: https://www.digikey.com/en/products/detail/sparkfun-electronics/ROB-15277/9995750
Research: https://www.energy.gov/energysaver/energy-efficient-window-coverings
Timeline
- Oct 8 – Design Review 1
- Establish everything needed to be done
- Oct 15 – Design Review 2
- If ready, shop for parts such as windows/blinds to begin a working prototype
- Oct 22 – Material Review
- Testing electronics (temperature sensors and motors)
- Oct 29 – Design Review 3
- Installation
- Adjustable
- Standard sizes
- Custom
- Installation
- Nov 5 – Fix Bugs
- Shroud/Clean up design
- Complete app
- Nov 12 – Design Review 4
- Functional product
- Land installation; (custom, standard fit, adjustable)
- Nov 19 – Final Prototype
- Expo video
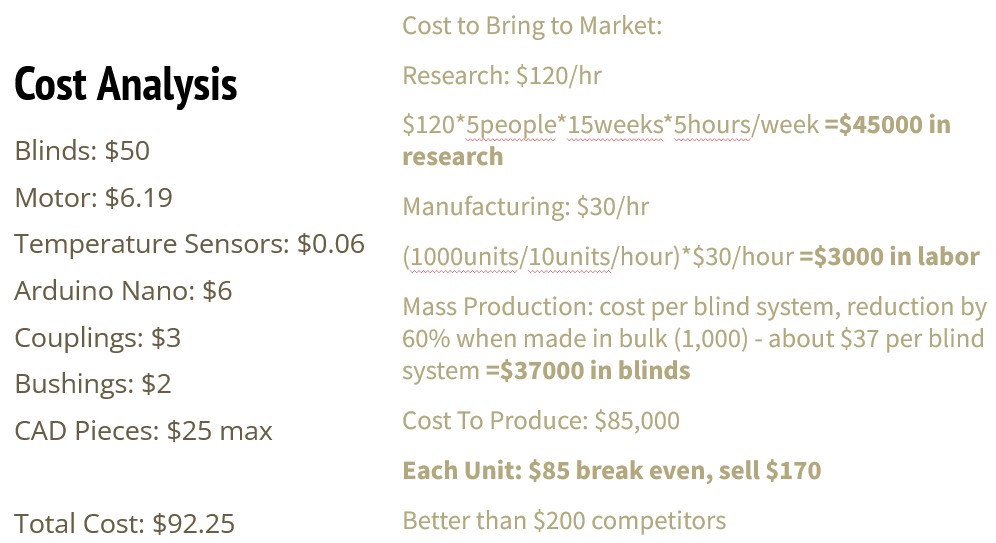
- Pricing/manufacturing goal
- Sub $250
- Dec 3 and 4
- Final product and presentation

